
PLAYA TENTSReal campers use tents... not those poseur RVs ;) At least that's what we keep telling ourselves. In reality, us fiscally challenged campers use tents. First, a little background: Back in 1997, three of us shared a "5 person" tent. I'm pretty sure the tent was designed for Snow White's friends, because 5 full sized adults would have to be really friendly to fit in there together. Never again. In the years following, I used the 5 person tent for just myself. It was OK, but far from a good solution. Here are a few words of caution:
|
|||||
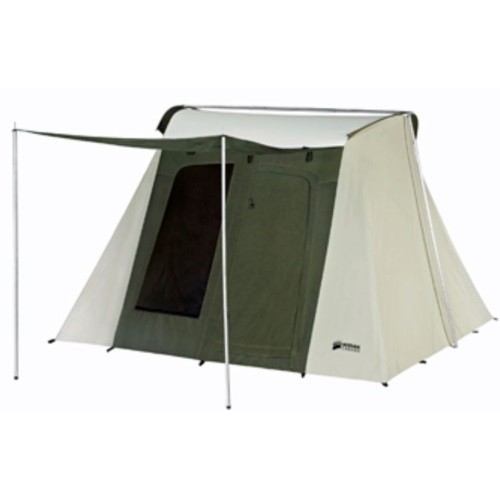 Kodiak Canvas Tents - OMG. Why didn't I do this sooner??? Kodiak Canvas Tents - OMG. Why didn't I do this sooner???In 2015 I purchased the 10x10 Kodiak, with a 6'6" height (yay! I can stand upright!) as my abode at Burning Man. The 10x10 was perfect for one person and all of my crap. It is a little too cosy with two beds + stuff, so if you plan on sharing a tent, consider the 10x14. The cheapest place I have found them is Competitive Edge Products and the tent arrived 4 days after I ordered it. I also understand that the Kodiak website will give you a burner discount. Likes
Here's a 2 minute video tour of my setup. Be sure to check out the inside. |
|||||
|
|||||
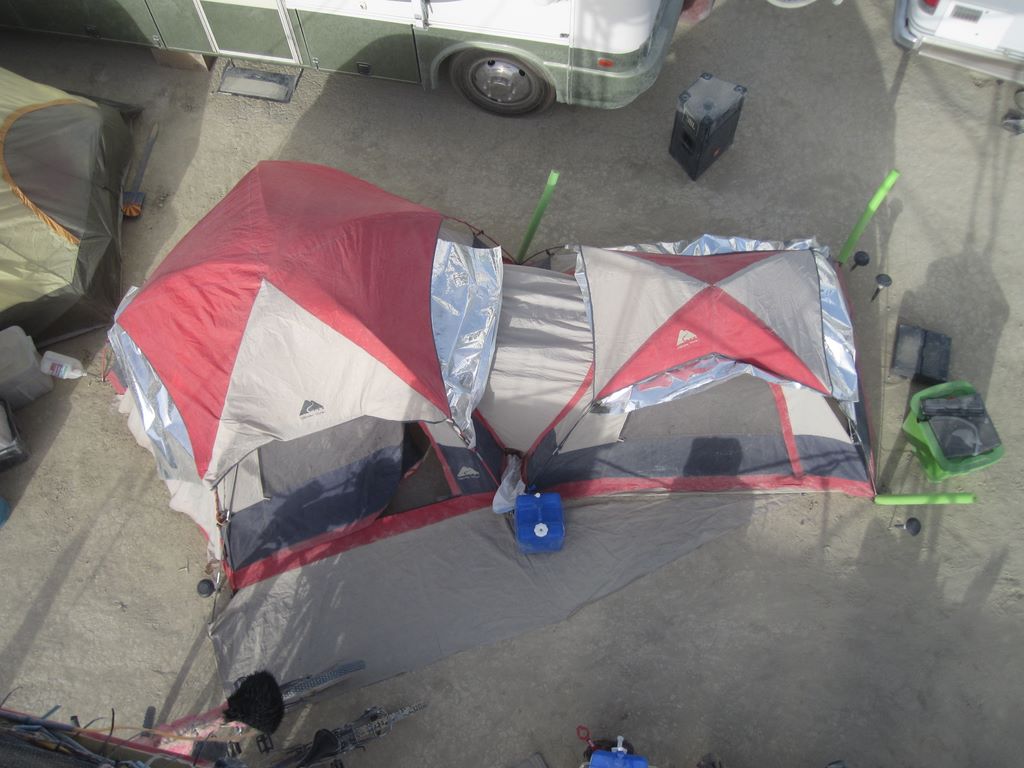
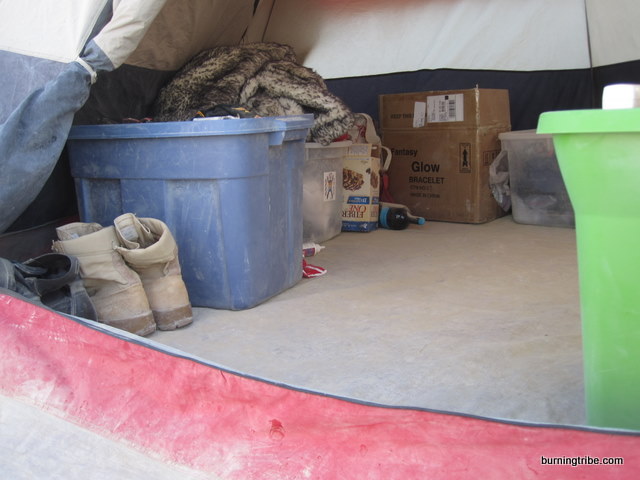
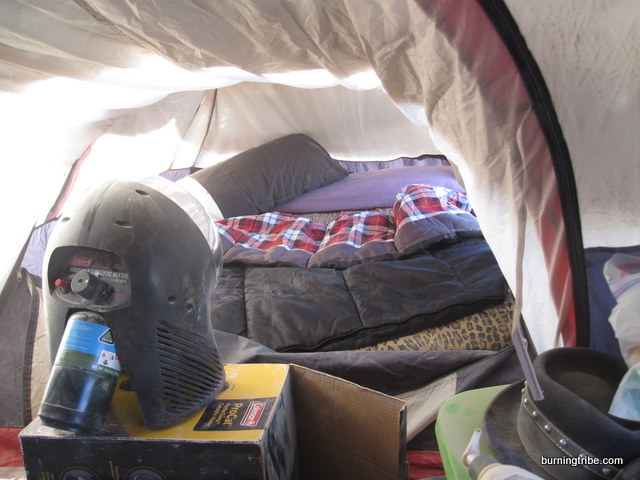
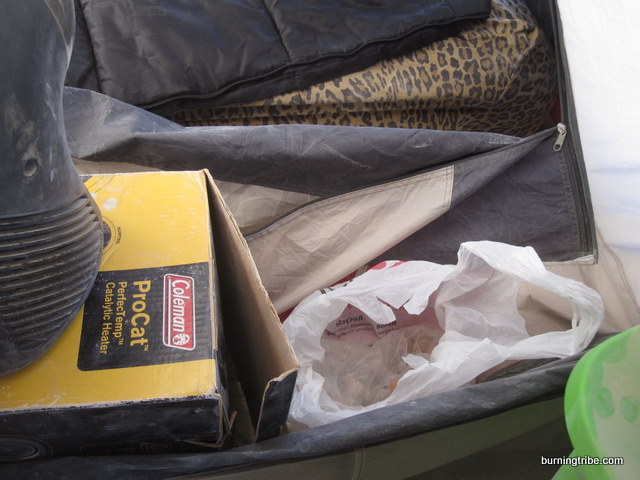
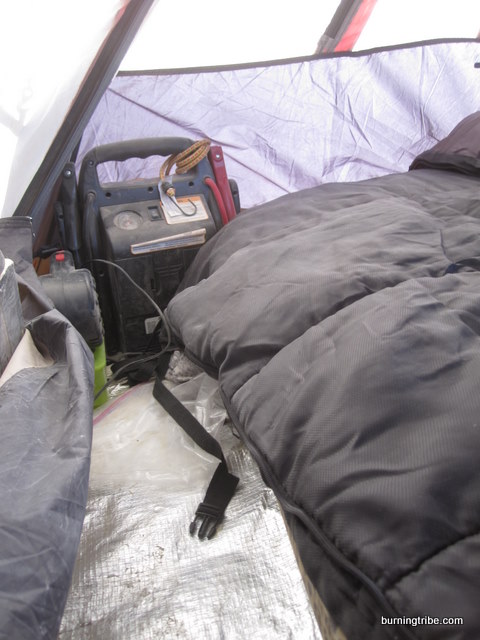
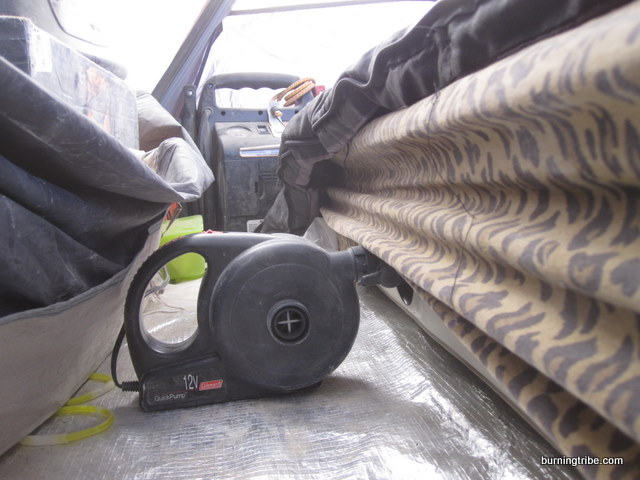
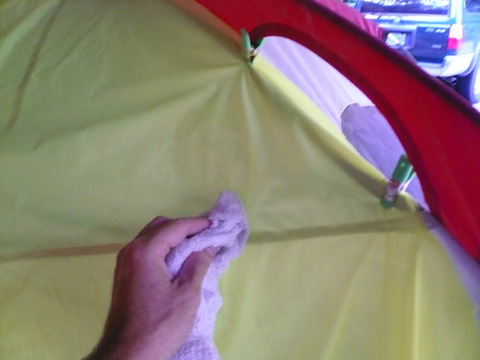
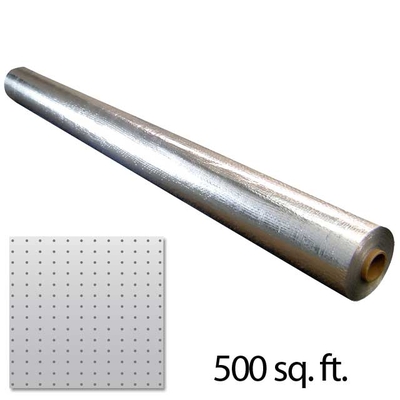
My old ($100) setup: In 2005 I started using a multi-dome tent and successfully used it until 2014, (Ozark trails - $90 at Wally world) and used it for 5 years with virtually no changes. The package was a triple dome tent setup, with interconnecting tunnels. There is a larger middle tent with two identical smaller tents on either side. I only use 2 domes - the larger one is my living/store room, and the smaller one was my "bedroom". You could do the same with two tents, but the joined tents allows me to enter though my large tent, strip off my dusty clothes and shoes, and then climb through the tunnel into bed. I use radiant barrier material as insulation between my rainfly and the tent, and on the East side of my tent (protects against the morning sun), as this significantly reduces the heat inside the tent. The insulation allows me to sleep as late as I wish in the mornings (usually around 11am), without any serious discomfort. Since the mornings tend to be dust free, I usually open up my bedroom windows and the door to allow for airflow. I always set up my tent with the door facing towards the west (away from the morning sun) so that I don't get burned to a crisp as the sun comes through my door. People who are sensitive to sound and light should consider bringing ear plugs and sleep masks. Bring spares as you'll likely lose at least one pair. I anchor my tent to the playa using 3' long rebar stakes at the main corners and one in the middle. I have found that this, along with the weight of my stuff inside the tents, to be more than enough to secure my tent in the playa wind storms. More on rebar below... |
|||||
|
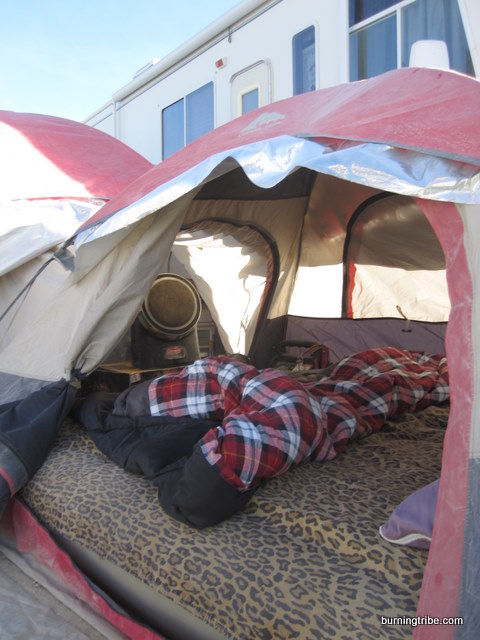
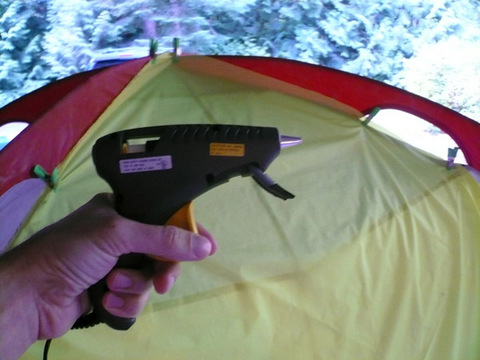
Some people I know go one step further and seal off all mesh vents with a nonporous material and a hot-glue gun. This is very helpful if you are using a summer tent that has large vents. My tent only has a small skylight vent under the rainfly, so I prefer trade off the fine powder like dust that gets onto my cover sheet, in exchange for some ventilation. Something about running a catalytic heater in a sealed tent just doesn't sound right :) My bedroom tent holds a full-sized air mattress with a memoryfoam mattress topper. Not only does the topper make the mattress infinitely more comfortable, it also serves as great insulation in case the nights are really cold. The air in the mattresses tend to get cold and suck the warmth out of my body. I use a fitted sheet and a couple of pillows, with a sleeping bag as a comforter. Next year I will take a lighter bed sheet because there are times when the comforter is too warm, but I am too cold to sleep without any cover. |
|||||
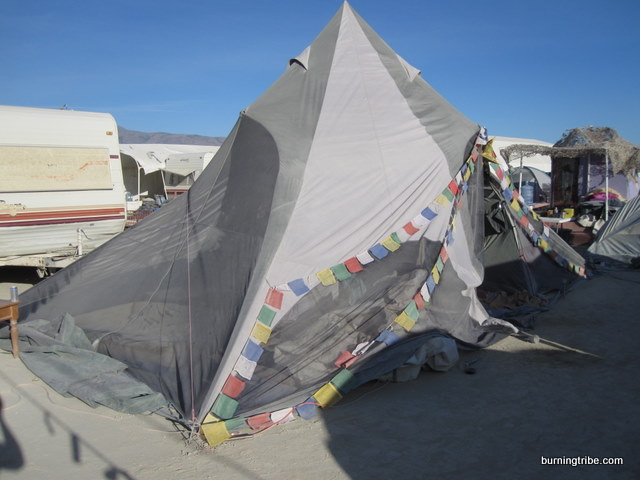
 Hexayurts - The shelters share a common feature: they can be made from standard industrial 4'x8' (1.2m x 2.4m) panels from materials like plastic, polyiso insulation, plywood, OSB, sandwich panels and cardboard. They provide great insulation well and if you seal them well, they keep out the dust. Unfortunately they are bulky to transport and take a little more time to build/tear down. Hexayurts - The shelters share a common feature: they can be made from standard industrial 4'x8' (1.2m x 2.4m) panels from materials like plastic, polyiso insulation, plywood, OSB, sandwich panels and cardboard. They provide great insulation well and if you seal them well, they keep out the dust. Unfortunately they are bulky to transport and take a little more time to build/tear down. |
|||||
|
|||||
|
|||||
|
|
|||||
|
Other options
|
|||||
|
|||||
|
|||||
|
|
|||||
|
|
|||||
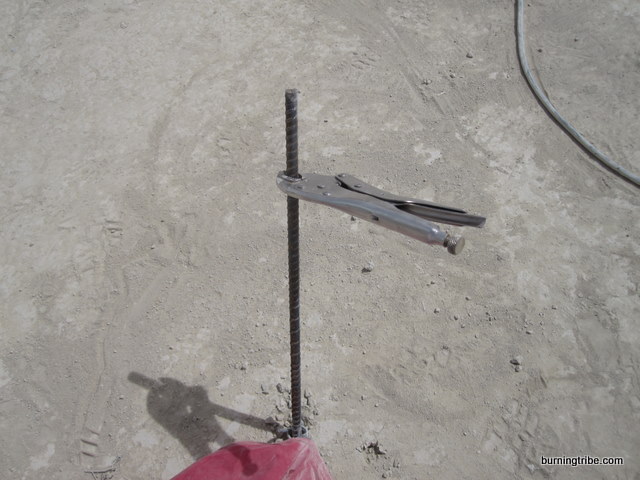
For 20 years I was a rebar purist. I tried candy caning them (sucks), I heated and did a 90 degree bend (much better) and then just did straight rebar capped with pool noodles. Then last year after hearing people sing their praises for several years, I tried Lag bolts. Holy crap - they are AWESOME. I am sold. You drive them in with a power impact driver - and extract them the same way. It now takes seconds and no effort, for what used to take forever and require a lot of swearing. |
|||||
Click on any image to enlarge |
|||||


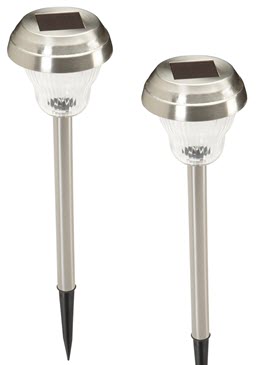 A couple of accessories you may want to consider adding to your tent setup are a
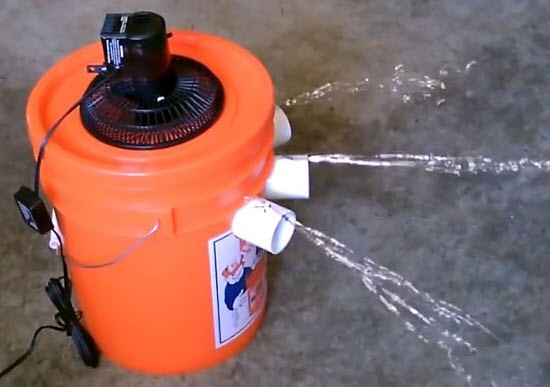
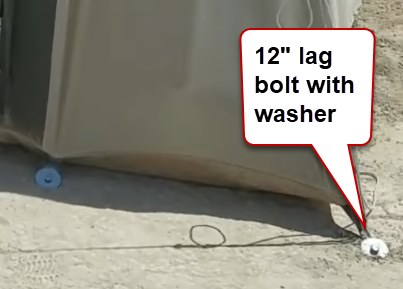 Rebar vs. Lag-bolts
Other Helpful Pages:
Version 8.1 - updated June, 2020
Copyright None - But drop me a note if you find this to be helpful of have suggestions
Email: ruvi (at) azburners (dot) org
Member of Camp Walter

Hosted by
![]()
Managed and Unmanaged VPS servers
Cloud Transition Consulting
Sever-less Page Hosting
https://blackrockhosting.com/